Understanding Kitchen Decor and Painting
The kitchen, often considered the heart of the home, is a space where functionality meets aesthetics. Painting your kitchen decor is one of the most transformative and cost-effective ways to refresh your space and inject personality. It’s an opportunity to reflect your style, create a welcoming atmosphere, and enhance the overall value of your home. Painting allows for endless possibilities, from a subtle color shift to a complete makeover. Understanding the basics of kitchen decor and the impact of paint will set you on the path to success, creating a space you’ll love spending time in. Whether you are looking for a modern, minimalist look or a cozy, traditional feel, the right paint can bring your vision to life.
Why Paint Matters in Kitchen Decor
Paint is more than just a color; it’s a powerful design element that can dramatically influence the look and feel of your kitchen. It has the ability to make a small kitchen appear larger, a dark kitchen brighter, and an outdated kitchen feel brand new. Paint can also serve as a unifying factor, tying together different elements of your kitchen decor. It can highlight architectural features, define spaces, and even influence your mood. The right paint color can enhance natural light, complement your cabinetry and countertops, and create a cohesive design scheme. Furthermore, painting is a relatively easy DIY project, offering a high return on investment in terms of visual impact and added value to your home.
Choosing the Right Paint for Your Kitchen

Selecting the right paint is crucial for a successful kitchen decor transformation. Consider the durability and washability of the paint, given the kitchen’s exposure to moisture, grease, and spills. Look for paints specifically designed for kitchens or high-traffic areas. These paints are formulated to withstand frequent cleaning and resist stains. Additionally, think about the finish of the paint. Satin and semi-gloss finishes are popular choices for kitchens because they are easy to wipe down. Flat or matte finishes offer a more contemporary look but may be less durable. The paint’s color and sheen impact the room’s overall atmosphere, so choose wisely based on lighting, existing decor, and personal preference.
Types of Paint and Their Benefits
Different types of paint offer various advantages for kitchen decor. Latex-based paints are a common choice due to their flexibility, ease of application, and low odor. They are also water-based, making cleanup simple. Oil-based paints are known for their durability and resistance to moisture but tend to have a strong odor and require solvents for cleanup. Acrylic paints are another excellent option, offering good adhesion, color retention, and resistance to mildew. For kitchen cabinets, consider specialized cabinet paints designed for high-wear surfaces. These paints provide a hard, durable finish that resists chipping and scratches, ensuring your cabinets maintain their beauty over time. When choosing, factor in VOC (Volatile Organic Compounds) levels, opting for low-VOC or zero-VOC paints to promote better air quality.
Color Psychology and Kitchens
Colors evoke specific emotions and can significantly influence how you experience your kitchen space. Warm colors like reds, oranges, and yellows can stimulate appetite and create a welcoming atmosphere, making them ideal for social kitchens. Cool colors like blues, greens, and grays can promote a sense of calm and serenity, perfect for a relaxing kitchen environment. Lighter colors, such as whites and pastels, can make a small kitchen appear larger and brighter, reflecting light and creating an airy feel. Consider your lifestyle and the function of your kitchen when choosing colors. Think about how you want to feel in the space. If you’re unsure, consult color swatches and test paint samples on your walls before committing to a full paint job.
Top 5 Easy Painting Tips for Kitchen Decor

Tip 1 Prepare Your Kitchen Surfaces
Proper surface preparation is the cornerstone of any successful paint job. Begin by cleaning your walls to remove dirt, grease, and grime. Use a degreasing cleaner, especially in areas near the stove. Next, assess your walls for any imperfections, such as cracks or holes. Fill these with spackle or patching compound, and sand the surface smooth once dry. If your walls have existing paint, lightly sand them to create a smooth surface for the new paint to adhere to. Priming is crucial, particularly if you’re painting over a darker color or porous surface. A primer helps the paint adhere better, provides a uniform base, and can prevent the old color from bleeding through. Proper preparation ensures a professional-looking finish and extends the life of your paint job.
Cleaning and Priming Walls
Before applying any paint, thoroughly clean your kitchen walls. Use a solution of warm water and a mild detergent or a specialized wall cleaner. Pay close attention to areas prone to grease and splatters, like behind the stove and around the sink. Rinse the walls with clean water and allow them to dry completely. Priming is a must, especially if you’re changing colors significantly or painting over a previously glossy surface. Apply a high-quality primer evenly, allowing it to dry completely according to the manufacturer’s instructions. Primer creates an ideal surface for the paint to adhere to and helps to ensure a uniform color and finish.
Repairing Imperfections

Inspect your walls for any imperfections, such as cracks, holes, or dents. Use spackle or patching compound to fill these imperfections, applying it with a putty knife. Once the compound is dry, sand the surface smooth, feathering the edges to blend seamlessly with the surrounding wall. For larger imperfections, you may need to apply multiple layers of compound, allowing each layer to dry completely before sanding. After sanding, wipe away any dust with a damp cloth. Properly repairing imperfections ensures a smooth, professional-looking paint finish.
Tip 2 Select the Right Paint Colors
Choosing the right paint colors is key to creating the desired atmosphere in your kitchen. Consider the size of your kitchen, the amount of natural light, and the existing decor. Lighter colors can make a small kitchen appear larger and brighter, while darker colors can create a more intimate feel. Think about the mood you want to create. Do you want a vibrant and energetic space or a calm and relaxing one? Choose colors that complement your cabinetry, countertops, and appliances. Gather inspiration from magazines, online resources, and color swatches. Test paint samples on your walls to see how the colors look in different lighting conditions before making a final decision. Remember that paint colors can appear different depending on the time of day and the amount of natural light.
Considering Kitchen Size and Lighting
The size of your kitchen and the amount of natural light play a significant role in selecting paint colors. In small kitchens, lighter colors reflect light and make the space feel more open. In larger kitchens, you have more flexibility to use darker colors. Consider the direction your kitchen faces; south-facing kitchens receive more sunlight and can handle cooler colors, while north-facing kitchens may benefit from warmer colors to brighten the space. Artificial lighting also impacts how paint colors appear, so consider the types of light fixtures you have and how they affect the colors you choose. Evaluate the colors under various lighting conditions before finalizing your paint selection.
Popular Color Schemes

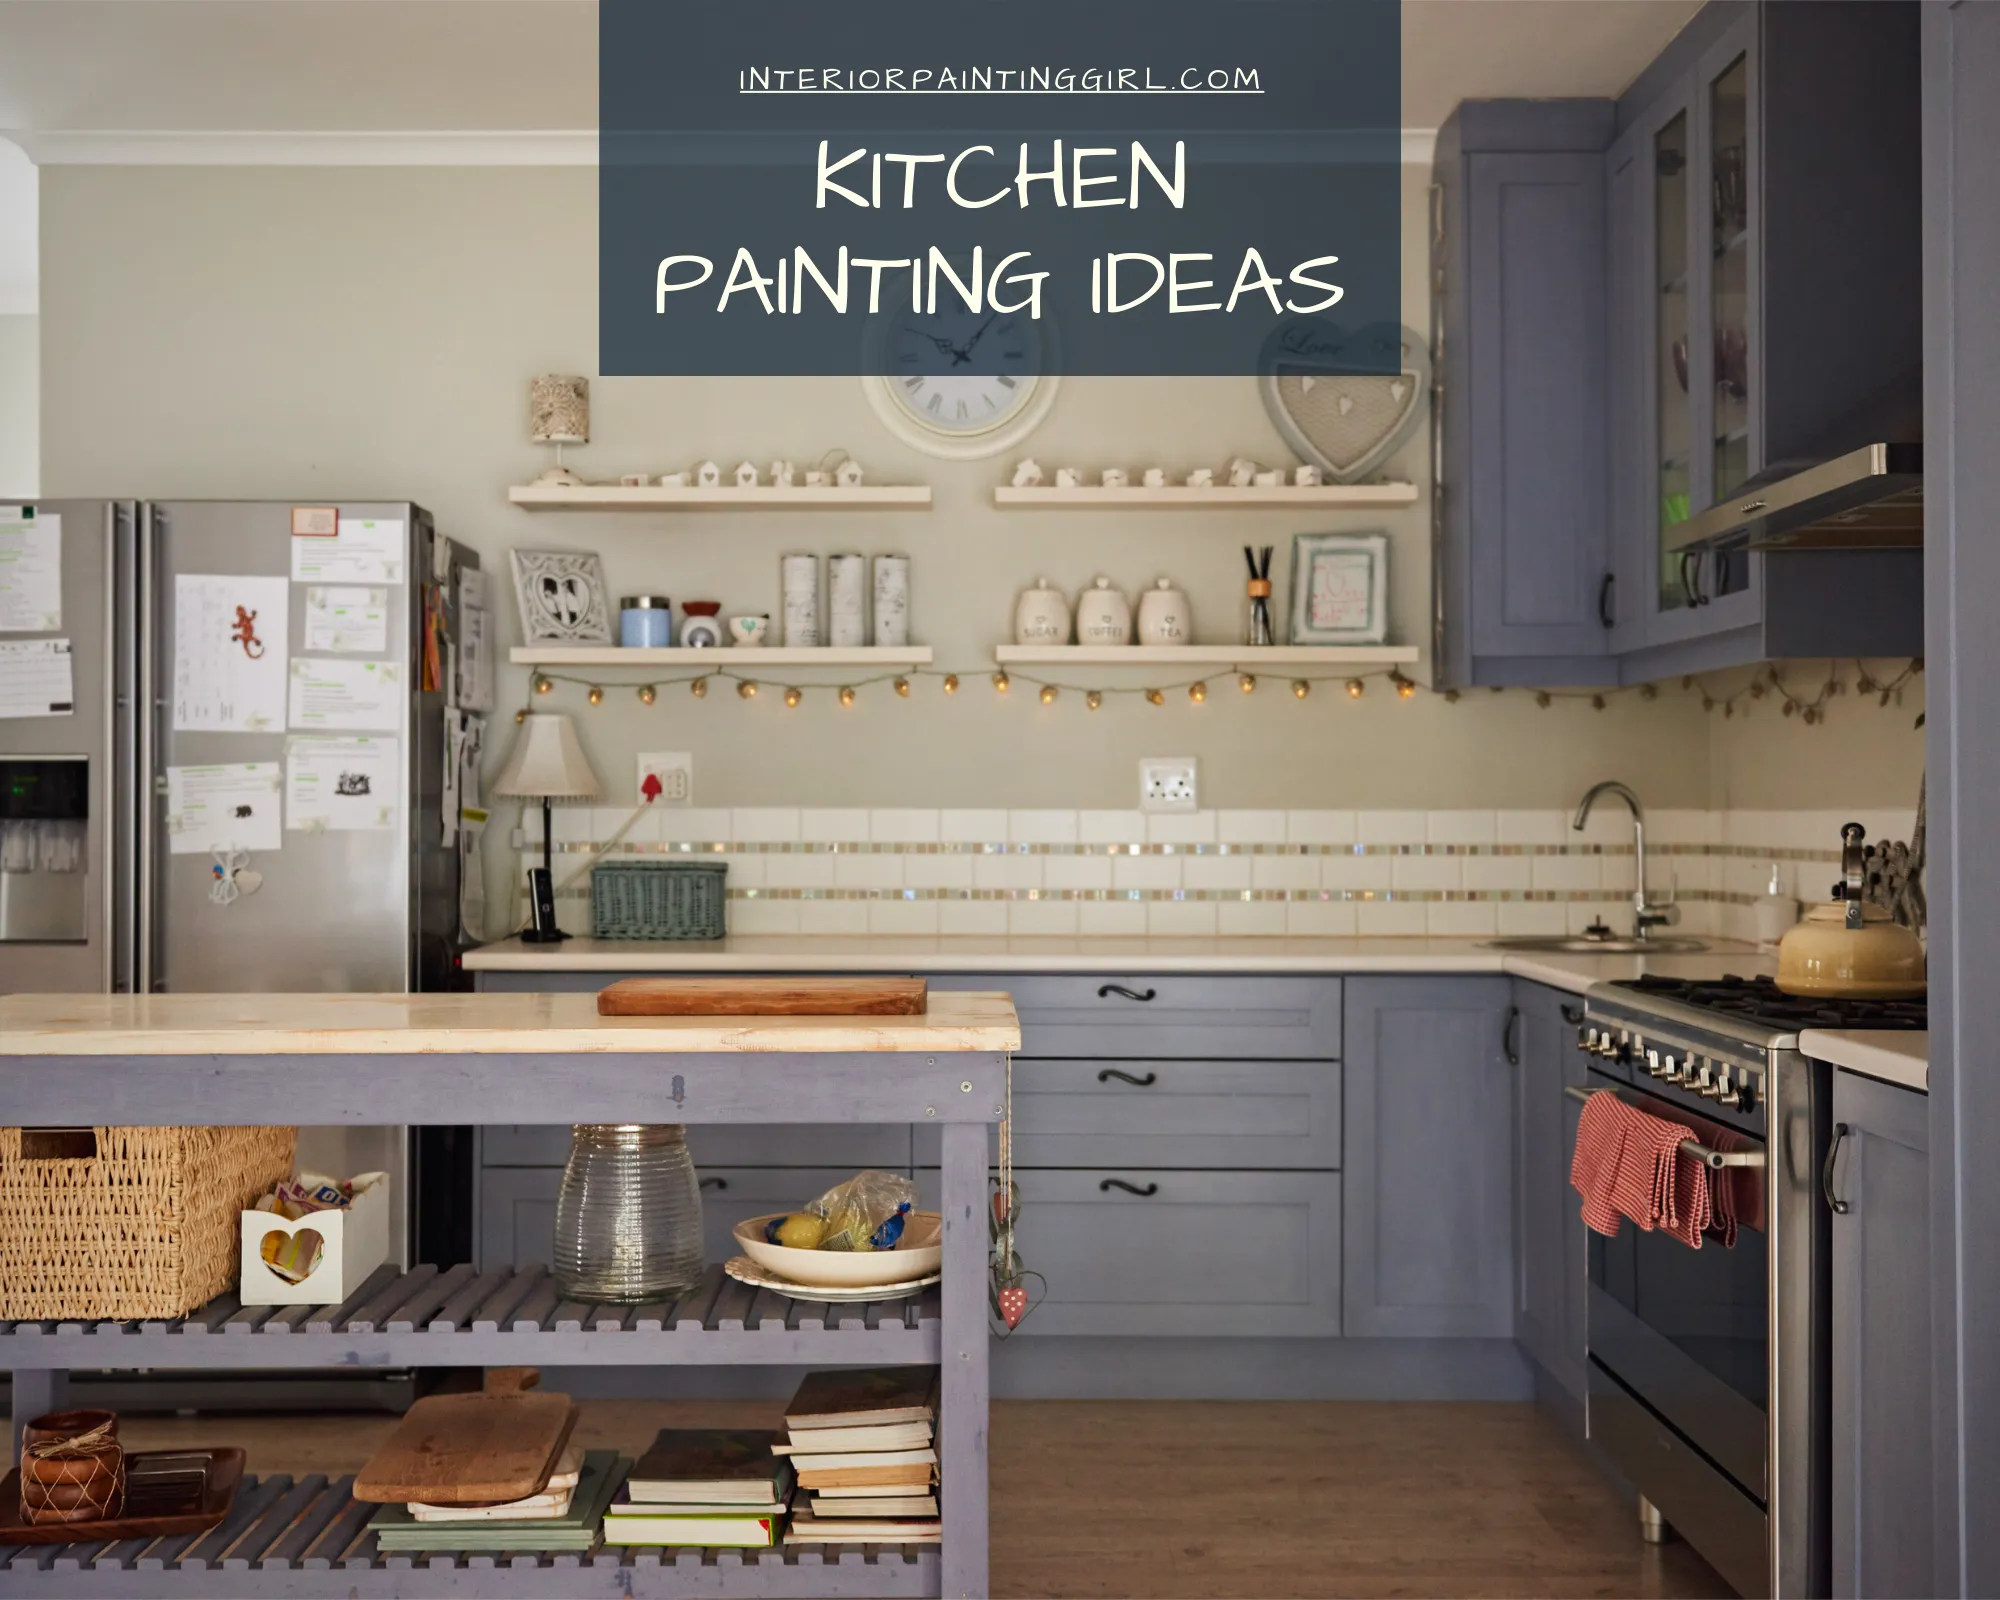
Some popular color schemes for kitchens include neutral palettes like whites, grays, and beiges, offering versatility and a timeless appeal. Earthy tones like greens, blues, and browns can create a warm, inviting atmosphere. Consider these schemes as a starting point and customize them to your preferences. For a modern look, consider a monochromatic scheme, using different shades of the same color. For a bold statement, incorporate accent walls or contrasting colors on cabinets. The right color scheme brings personality to your kitchen decor.
Tip 3 Master the Painting Techniques
Mastering the right painting techniques is essential for achieving a professional-looking finish. Start by using high-quality brushes and rollers. For cutting in around edges and trim, use a brush with angled bristles. For larger areas, use a roller with the appropriate nap length for your wall surface. Apply the paint evenly, using long, smooth strokes, and avoid overworking the paint, which can lead to brush marks or roller marks. Apply two or three thin coats, allowing each coat to dry completely before applying the next. Proper painting techniques ensure a smooth, even finish and enhance the overall appearance of your kitchen.
Proper Brush and Roller Techniques
For walls, use a roller with the appropriate nap for your wall texture—shorter naps for smoother walls and longer naps for textured surfaces. Load the roller evenly and apply paint in overlapping ‘W’ or ‘M’ patterns. Avoid applying too much paint, which can lead to drips and runs. For cutting in around edges, trim, and corners, use a brush with angled bristles and dip the brush about one-third into the paint, wiping off excess paint on the rim of the can. Apply the paint smoothly and evenly, using long, continuous strokes to avoid brush marks. Maintaining consistent technique and not overloading the brush or roller is key to a smooth finish.
Avoiding Common Painting Mistakes

To avoid common painting mistakes, start by preparing your surface thoroughly. Avoid rushing the process; always allow each coat of paint to dry completely before applying the next. Don’t skimp on the quality of your paint and tools. Choose the correct paint finish for your kitchen and your needs. Overloading your brush or roller with paint can cause drips and runs; wipe off excess paint before applying. Another common mistake is not using painter’s tape to protect trim and other areas. Ensure adequate ventilation to prevent paint fumes from building up. By being careful and patient, you can avoid common pitfalls and achieve professional-quality results.
Tip 4 Protect Your Kitchen and Yourself
Protecting your kitchen and yourself during the painting process is critical. Cover your floors, furniture, and appliances with drop cloths or plastic sheeting to protect them from paint splatters. Remove or cover cabinet hardware, light fixtures, and other items that you don’t want to paint. Wear appropriate clothing, including old clothes and a hat to protect your hair. Use painter’s tape to mask off trim, windows, and other areas you don’t want to paint. Ensure proper ventilation to prevent paint fumes from building up by opening windows and using fans. Following these precautions keeps your kitchen clean and allows you to work safely and efficiently.
Protecting Furniture and Appliances
Before you start painting, cover your furniture and appliances with drop cloths or plastic sheeting to protect them from paint splatters and drips. Move furniture away from the walls if possible, and cover remaining items completely. Use painter’s tape to secure the drop cloths or plastic sheeting. Cover the floor with drop cloths, especially under areas you will be painting. This will protect your flooring from paint spills. Take the time to adequately protect all surfaces, which will save you time and cleaning later. This proactive approach makes the cleanup process much easier and protects your belongings from damage.
Ensuring Proper Ventilation

Good ventilation is essential when painting to prevent the build-up of paint fumes, which can be harmful. Open windows and doors to allow fresh air to circulate. Use fans to help circulate the air and exhaust fumes outside. If you have a vent fan, use it to pull air out of the room. Make sure the kitchen is well-ventilated during and after painting, allowing the paint to dry properly. Consider using a respirator or a face mask designed for painting, particularly if you’re sensitive to fumes or using oil-based paints. Good ventilation not only ensures your safety but also helps the paint dry faster and more evenly.
Tip 5 Final Touches and Decorating
Once your paint is dry, it’s time for the final touches and decorating. Remove the painter’s tape carefully. Inspect your work for any imperfections and touch up any areas as needed. Clean up any paint splatters and spills immediately. Now you can add accessories and personal touches to complete your kitchen makeover. Consider new cabinet hardware, stylish backsplashes, decorative lighting, or a fresh set of window treatments. These finishing touches will enhance your new paint job. With the right accessories and décor, you can transform your freshly painted kitchen into a beautiful and functional space that reflects your style and personality.
Adding Accessories and Personal Touches
Adding accessories and personal touches is the final step in transforming your kitchen with paint. Select accessories that complement the color scheme and overall style of your kitchen. Consider adding new cabinet hardware, such as knobs or pulls, to update the look of your cabinets. Install a stylish backsplash to add visual interest and protect the walls. Replace old lighting fixtures with new ones that complement your painted walls and the overall design. Incorporate decorative items, such as artwork, plants, and personal photographs, to add personality and warmth to the space. These final touches will pull everything together and create a cohesive, inviting atmosphere.
Maintaining Your Painted Kitchen
Maintaining your painted kitchen ensures its longevity and beauty. Regularly wipe down walls with a damp cloth to remove dust and grime. Immediately clean up any spills or splatters to prevent stains. Avoid using abrasive cleaners that could damage the paint finish. For stubborn stains, use a mild detergent or a specialized wall cleaner. Periodically inspect your walls for any damage, such as scratches or chips, and touch them up as needed. By following these maintenance tips, you can keep your kitchen looking fresh and beautiful for years to come, preserving your investment and enjoying your freshly painted space.